- Quick Start
- Step 1
Step 1: Import, start Tracking
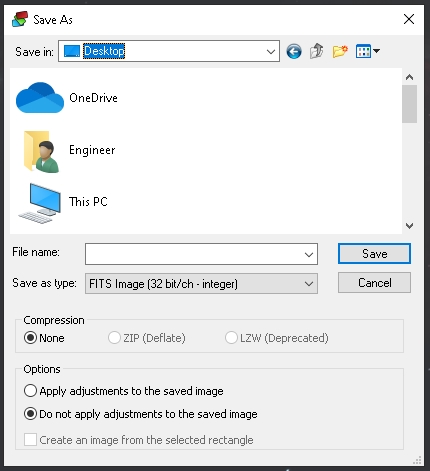
Open an image stack ("dataset"), fresh from a stacker. Make sure the dataset was stacked correctly, as StarTools, more than any other software, will not work (or work poorly) if the dataset is not stacked correctly or has been modified beforehand. Your dataset should be as "virgin" as possible, meaning unstretched, not colour balanced, not noise reduced and not deconvolved. Please consult the "starting with a good dataset" section in the "links & tutorials" section.
Upon opening an image, the Tracking dialog will open, asking you about the characteristics of the data. Choose the option that best matches the data being imported. If your dataset comes straight from a stacker, the first option is always safe. The second option may yield even better results if certain conditions are met. Depending on what you choose here, StarTools may work exclusively on the luminance (mono) part of your image, bringing in color later; StarTools is able to seamlessly process color and detail separately (yet simultaneously).
Tracking is now engaged (the Track button is lit up green). This means that StarTools is now monitoring how your signal (and its noise component) is transformed as you process it.
Once imported, counter-intuitively, a good stacker output will have a distinct, heavy color bias with little or no apparent detail. Worry not; subsequent processing in StarTools will remove the color bias, while restoring and bringing out detail. If, looking at the initial image, you are wondering how on earth this will be turned into a nice picture, you are often on the right track.
You may also be interested in...
- L. B., United States (under Testimonials)
I'm relatively new to image processing and just wanted to say how straight forward and powerful StarTools is.
- Stage three (under Main operation)
The noise signature of the deliberately left-in noise, is precisely shaped to be aesthetically pleasing for precisely this purpose.
- Crop: Express Cropping Tool with Switchable Luminance, Chrominance and Narrowband Accent Previewing (under Features & Documentation)
- Design philosophy and limitations (under Usage)
As with all modules in StarTools, the Wipe module is designed around robust data analysis and algorithmic reconstruction principles.
- Usage (under AutoDev)
AutoDev's job then, is to find the best-compromise global curve, given what detail is visible in your image and your preferences.